Hopefully by now you’ve visited at least one of Wichita’s many pumpkin patches and have picked out the perfect pumpkin. It’s time to get carving for some good old-fashioned family fun! Follow these simple instructions and you’ll have a masterpiece in no time:
 1) Gather your supplies. You’ll need a pumpkin, a large spoon or scoop, a large serrated knife or large carving saw, a small paring knife or small carving saw, a pushpin or poker tool, tape, and your design pattern. While there are many online resources for pumpkin carving designs, my favorite website for FREE patterns is Pumpkin Pile. They have hundreds of patterns you can download and print for FREE. The patterns are in PDF format and come with carving instructions and a challenge rating from 1-5. You’ll find patterns for celebrities, animals, cartoon characters, super heroes, movie icons, classic jack-o-lanterns, and much more.
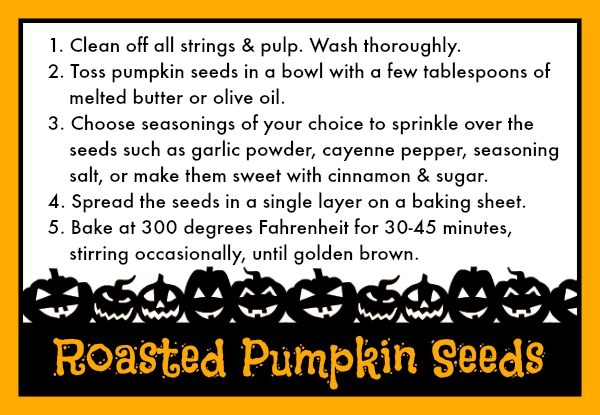
2) Prepare your pumpkin. Decide if you want to cut a hole around the stem at the top of your pumpkin OR at the bottom. Use a large serrated knife or large carving saw and make sure the hole is big enough to accommodate your hand. If you decide to cut a hole around the top, cut at a 45 degree angle towards the center of the pumpkin to prevent the top from falling inside. Grab a large spoon or scoop and begin digging out the “guts” and seeds. Keep digging and scraping until the pumpkin wall is approximately 1 inch thick. This will make it easier for carving. Discard the guts, but don’t throw away the seeds! Pumpkin seeds are a great source of fiber, vitamins, minerals, and antioxidants. Roasting pumpkin seeds is easy, and they make for a delicious and nutritious snack:

3) Tape your pattern to your pumpkin and begin poking holes. Use a pushpin or the point of a poker tool to gently poke holes around the entire design outline. It’s best to not poke through the entire wall of the pumpkin and to keep the holes about 1/8 inch apart. This can be tedious, but hang in there. Once you’ve poked holes around every highlighted area of your design (the dark areas), remove the pattern and tape from your pumpkin.
4) Cut out your design. Use a small paring knife or small carving saw to “connect the dots” and cut along the marked areas. Use a gentle back and forth motion and take your time. Keep following your pattern until you’ve carved out the entire design. Discard the cut-out pieces.
5) Place a candle inside. Fake candles are safer and more convenient than real candles. Most fake candles have programmable timers so they will automatically turn on at the same time each day. Luminara candles are my absolute favorite flameless candles. We have several Luminara candles on display year-round at our house, but they are also perfect for inside a pumpkin. In my opinion, they are worth the higher price tag because they look so real!
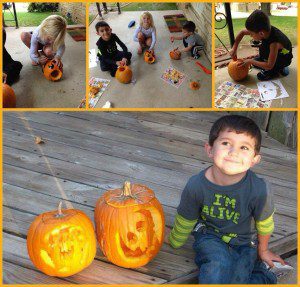
6) Marvel at your beautifully carved creation!

Tips for Preserving Your Carved Pumpkin:
- Spray the inside and outside of your pumpkin daily with a bleach-water mixture (1 tablespoon of bleach to 1 quart of water). They also make commercial pumpkin preserver sprays you can buy at the store or online.
- Apply a thin layer of Vaseline or petroleum jelly to the exposed areas of the pumpkin’s flesh and it’s interior.
- Unfortunately even with these precautions, a cut pumpkin will only last for a few days to a week. It’s best to cut your pumpkin no earlier than 2-3 days before your Halloween festivities.
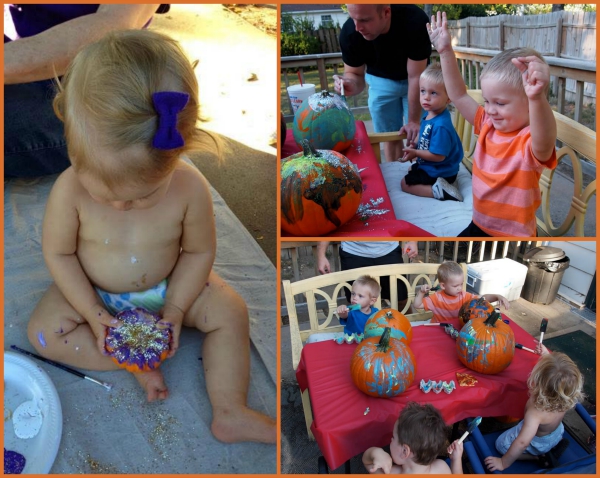
If the thought of your children using sharp tools gives your anxiety, there are plenty of Knife-Free Alternatives for Decorating Pumpkins:
- Spray your pumpkin with metallic spray paint.
- Apply adhesive and sprinkle with glitter.
- Cover your pumpkin with lace.
- Cut out felt designs and glue them onto your pumpkin.
- Use chalkboard paint to turn your pumpkin into a blank canvas. Write messages or draw faces with chalk.
- Glue buttons onto your pumpkin.
- Use puff paint to create fun patterns.